Although brands are interested in your blog’s traffic, as we shared in 2016 Blogging Trends & Predictions it’s more important than ever to work on building your number of subscribers. If you’re new to blogging, subscribers are people who sign up to receive your blog’s feed or your newsletter in their email inbox. Here’s a step-by-step guide to use Use MailChimp to send subscribers a free download, like an audio file, PDF, educational video or e-course.
Newsletters delivery programs like Mailchimp are popular and free, if you have fewer than 2,000 subscribers.
Mailchimp provides a number of follow-up emails to subscribers and allows you to upload a file it will host on its servers.
Send Subscribers a Free Download
Create or login to your existing Mailchimp account. Click “List” on the top menu. Create a new list or select an existing list.
Create a sign up form. Select the drop down menu for your designated list. Click “Sign Up Forms”, then “General Forms” (a bright yellow button), under “Forms and response emails” select “Sign Up Form” – it’s the first option.
Design your sign up form. Click “Build It” and “Design It” to create a form for subscribers to enter their information. Add fields like “First Name” and of course, “Email address” by dragging and dropping the options into the form.
Under “Design It” you can select a background color that matches your blog or brand’s colors. Upload images to the header.
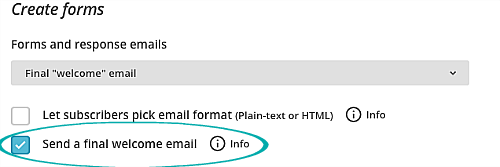
Confirm and welcome your subscribers. When you’re satisfied with the way the form looks, scroll up to under “Forms and response emails” select “Confirmation Thank You Page” or “Final Welcome Email.” Both options will allow you to customize an immediate responsive email. Make sure that the option is checked for “Send a final welcome email.”
Create a confirmation message using the editor. In the “Final Welcome Email” include copy that allows your subscriber to know they’re about to receive a free download. For example, “Here’s my free guide to making 10 dinners in 1 day that are perfect to freeze ahead.”
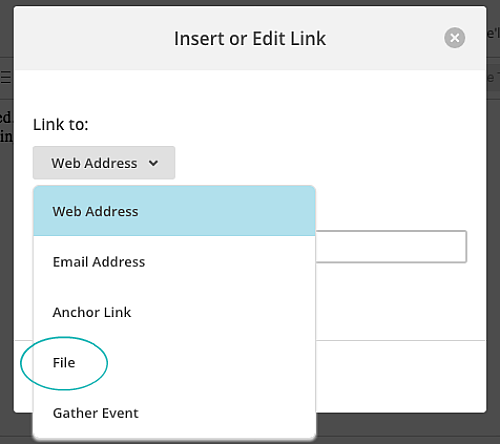
Highlight that copy. Click the Link icon, then the “Insert or Edit Link” option will drop down, scroll down to “File”, upload/select the file for your free download. It can be a PDF, audio file or video file. Click Insert so the file will be linked to your copy.
Save and close. Complete editing the confirmation email. Click “Save and Close.” Your subscribers will get the emails shortly and a link to your free download.
Mailchimp recommends that you use its server for file attachments instead of linking the file to download on an external site like Dropbox or Google Drive. The newsletter service says this ensures that your file gets to subscribers, “Most content and virus-scanning programs see attachments sent through any bulk mailing service as a potential security threat, and either block the attachment or the email entirely.”
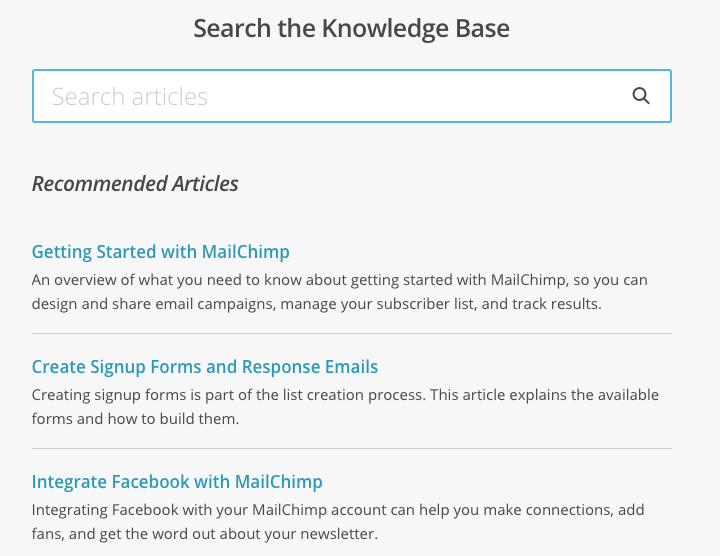
If it seems too cumbersome, consider hiring someone on fiverr to set up your newsletter templates and subscriber. You can also use the Mailchimp search engine to answer your questions.
Send a test email. Sign up for your own list or ask a friend if you can use theirs. Test and make sure that all of the necessary emails come through.
RELATED TOPIC: List Building Basics for Bloggers
Comment below: Considering your blog’s niche, what free download could you send to new or past subscribers?
Mailchimp offers video tutorials by searching on the HELP bar prominently posted at the top of the page to “Search the Knowledge Base. ”



No Comments